As promised I am back with the final lessons on Installing phpMyAdmin on Google App Engine. According to what I mentioned in Part I, by now you should have got your application whitelisted for PHP deployment. If you haven't done it, please do it now and meanwhile if you haven't installed phpMyAdmin on local GAE, do it now.

Part II (Deployment)
Install phpMyAdmin on local GAE
Let me repeat again for emphasis, Please First Install phpMyAdmin on local GAE setup. Follow Part I of this tutorial for step-by-step procedure.
Create a CloudSQL SuperAdmin
The next most important important thing we have to do is to create a duplicate of MySQL's root user called admin. As in the local installation, this user will be the username we'll use to log into phpMyAdmin. Choose a password strong enough to be unpredictable by others and memorable enough to be unforgettable by you.
Open the CloudSQL prompt.
- Start your browser and navigate to Google APIs Console.
- In the left pane select a PHP/CloudSQL enabled project to which you wish to deploy phpMyAdmin.
- In the left pane click on Google Cloud SQL.
- Now, in the dashboard pane select the SQL Prompt tab.

CREATE USER 'admin'@'%' IDENTIFIED BY '<password>'; -- Replace <password> with your own password
GRANT ALL PRIVILEGES ON * . * TO 'admin'@'%' IDENTIFIED BY '<password>' WITH GRANT OPTION MAX_QUERIES_PER_HOUR 0 MAX_CONNECTIONS_PER_HOUR 0 MAX_UPDATES_PER_HOUR 0 MAX_USER_CONNECTIONS 0 ;
CloudSQL already provides a root that has all the needed privileges, why not set a password on it instead of creating another admin user?Go through this page of Cloud SQL official docs, if you add a password to therootMySQL user, the APIs Console Interface will lose some functionality. Most importantly, you'll lose access to SQL prompt. If in future, you ever mess up things or forget your admin password, SQL Prompt is your only recovery option.
Configure CloudSQL in config.inc.php
If you remember, in the local installation we configured a localhost. We'll just configure another server in it to accommodate CloudSQL.
Open project_path/config.inc.php and at the end (just before the line containing ?>) add the below lines:
/* Server: CloudSQL [2] */
$i++;
$cfg['Servers'][$i]['AllowNoPassword'] = false;
$cfg['Servers'][$i]['verbose'] = 'CloudSQL';
$cfg['Servers'][$i]['host'] = ':/cloudsql/govt-jobs-india:app';
$cfg['Servers'][$i]['port'] = '';
$cfg['Servers'][$i]['socket'] = '';
$cfg['Servers'][$i]['connect_type'] = 'tcp';
$cfg['Servers'][$i]['extension'] = 'mysql';
$cfg['Servers'][$i]['auth_type'] = 'cookie';
$cfg['Servers'][$i]['user'] = 'root';
$cfg['Servers'][$i]['password'] = '';
$cfg['Servers'][$i]['pmadb'] = 'phpmyadmin';
$cfg['Servers'][$i]['controluser'] = 'phpmyadmin';
$cfg['Servers'][$i]['controlpass'] = '<control_passsword>';
$cfg['Servers'][$i]['bookmarktable'] = 'pma__bookmark';
$cfg['Servers'][$i]['relation'] = 'pma__relation';
$cfg['Servers'][$i]['userconfig'] = 'pma__userconfig';
$cfg['Servers'][$i]['table_info'] = 'pma__table_info';
$cfg['Servers'][$i]['column_info'] = 'pma__column_info';
$cfg['Servers'][$i]['history'] = 'pma__history';
$cfg['Servers'][$i]['recent'] = 'pma__recent';
$cfg['Servers'][$i]['table_uiprefs'] = 'pma__table_uiprefs';
$cfg['Servers'][$i]['tracking'] = 'pma__tracking';
$cfg['Servers'][$i]['table_coords'] = 'pma__table_coords';
$cfg['Servers'][$i]['pdf_pages'] = 'pma__pdf_pages';
$cfg['Servers'][$i]['designer_coords'] = 'pma__designer_coords';
Finally, let's deploy
Like we did for starting dev_appserver.py, let us create an executable file that deploys our application on a double-click. Create a shell script update.sh (if you are on linux) or a DOS batch file update.bat in project_path and fill it with the command below and save it.
sdk_path/appcfg.py update -R .If you're on linux, make it executable
$ chmod 755 update.sh
Creating this file will save you time needed to type the commands everytime. Now run the file to start deployment. You will be prompted for email and password. Enter your Google account email and password respectively and wait for sometime (When deploying for the first time, this may take more than a few minutes depending on your internet).If your deployment is successful, in the terminal/console window, you'll see something similar to:
02:32 PM Host: appengine.google.com
02:32 PM Application: app-id; version: pma
02:32 PM Starting update of app: app-id, version: pma
02:32 PM Getting current resource limits.
Email: <google_username>
Password for tabrez.tk: <google_password>
02:32 PM Scanning files on local disk.
02:32 PM Scanned 500 files.
02:32 PM Scanned 1000 files.
02:32 PM Cloning 578 static files.
02:33 PM Cloning 1080 application files.
02:33 AM Uploading 41 files and blobs.
02:33 AM Uploaded 41 files and blobs.
02:33 PM Compilation starting.
02:34 PM Compilation completed.
02:34 PM Starting deployment.
02:34 PM Checking if deployment succeeded.
02:34 PM Deployment successful.
02:34 PM Checking if updated app version is serving.
02:34 PM Completed update of app: app-id, version: pma
Log into phpMyAdmin
Start your browser and log on to https://pma-dot-app-id.appspot.com. Yes it is pma-dot-app-id.appspot.com
You may also access phpMyAdmin at https://pma.app-id.appspot.com but good browsers may not like itSince SSL certificate at appspot.com is valid only for *.appspot.com and pma.app-id.appspot.com belongs to the family *.*.appspot.com, good browsers will treat this as eavesdropping and may throw a "This connection is untrusted" error and refuse to proceed.
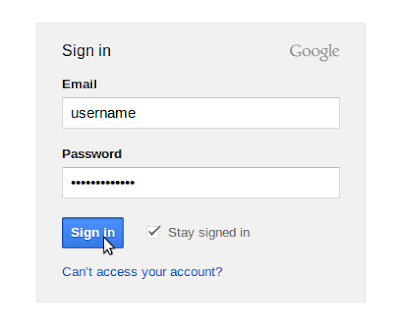
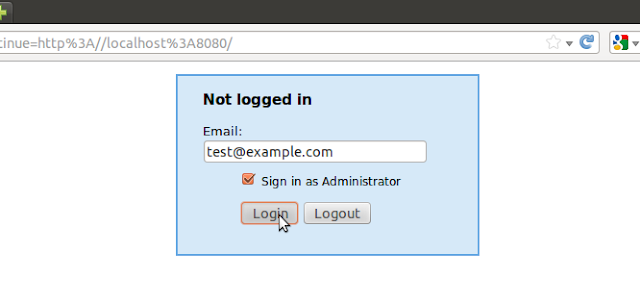
You will now be taken Google's Login Page (If you are already logged into your google account, the login screen may not appear)

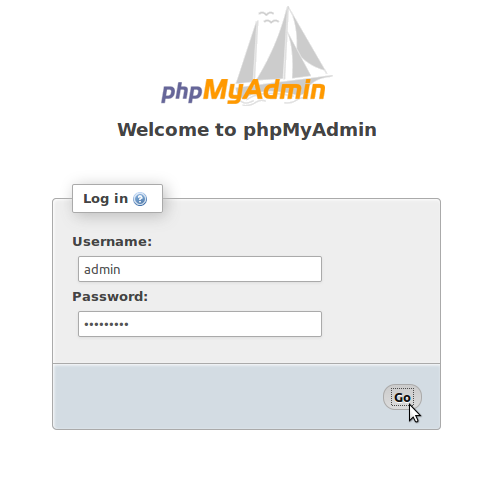
You will now be presented with phpMyAdmin login screen. Enter admin in the Username field, enter the password you have set and click "Go".

This will be your normal procedure to log into phpMyAdmin. You have to first log into Google, then separately into phpMyAdmin. Thus your old friend phpMyAdmin is now under two layers of security.
If all went well, you should now be logged into phpMyAdmin.
Finish Configuration
This step is almost copied from local installation except that you have already deployed config.inc.php and you cannot edit it now. So, you should be ready with <control_passsword> that you added in config.inc.php.
- Create control user:
In phpMyAdmin, navigate to Users >> Add User. Create a user phpmyadmin with a password <control_password> and no global privileges with "Create database with same name and grant all privileges" checked (ticked). - Create storage database and tables:
Open project_path/examples/create_tables.sql. Copy all content to phpMyAdmin's SQL utility at Databases >> phpmyadmin >> SQL and execute them.
You're done
With this, you've succcessfully installed and deployed phpMyAdmin on Google App Engine. You now have a plethora of phpMyAdmin's features before you.
I'll sign off now. If you liked this tutorial or if you have anything to say, don't forget to comment below.
Take care...


